
Contents |
|
1. Why BSODs occur during Windows XP Installation
BSOD (Blue Screen of Death) means that Windows Kernel has encountered an error it could not handle. For example: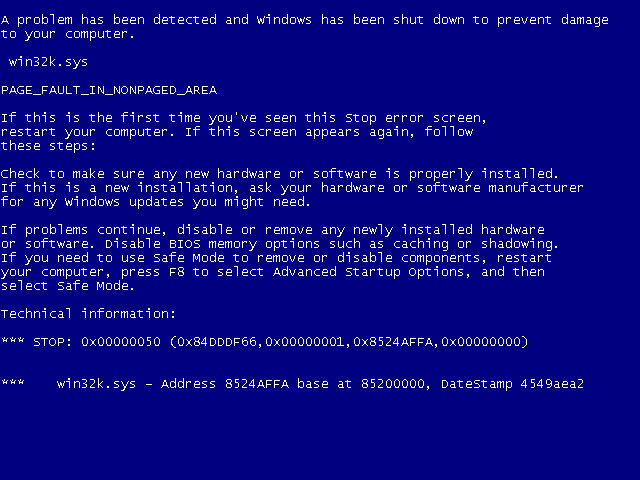
2. Decoding BSODs
BSODs usually contain the name of failed driver or Windows component (SPCMDCON.SYS in this example), error description (PAGE_FAULT_IN_NONPAGED_AREA), stop code afer "*** STOP: " (0x00000050 in this example) and other information.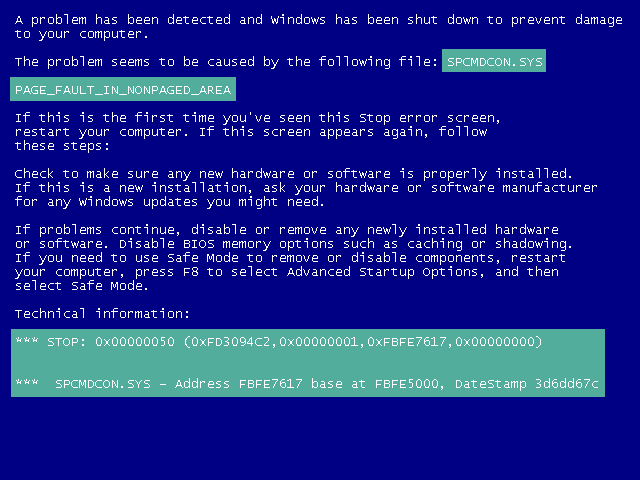
3. Stop 0x0000007B (INACCESSIBLE_BOOT_DEVICE): What does it mean
When Windows starts, it must load its Kernel into the memory. To do this, Windows must read the Kernel from the disk. In order to read the disk, Windows must load disk driver first. But disk driver can't be loaded before Kernel is already in the memory.It's a kind of chicken-and-egg problem.
To solve it, Windows temporarily (only during boot time) is using different way to access the boot disk — not via usual driver, but via BIOS interface (Interrupt 13h). BIOS Interrupt 13h is slow, and incompatible with multitasking, so it is used only to read portion of the operating system from boot disk. Other disks are never read this way.
During the boot process, in order to remount boot filesystem in read/write mode, to reopen the registry in read/write mode, to load the rest of drivers, and to perform other necessary boot tasks, Windows switches from old BIOS interface for accessing the disk to native (driver) interface for accessing the disk. This switching allows disk access to be faster and more reliable, thus new way to access the disk is used until complete shutdown of the OS.
If this switching is impossible for some reason, then Windows Kernel fires error 0x0000007B (INACCESSIBLE_BOOT_DEVICE).
Usual reason why this switching might be impossible is a lack of driver: disk controller driver, or maybe bus (miniport) driver. There are also situations when the driver is present but contains bugs and needs to be upgraded in order to work.
The most probable reason why you are getting error 0x0000007B (INACCESSIBLE_BOOT_DEVICE) is SATA disk controller configured in AHCI mode, which is supported by BIOS interrupt 13h, but requires special driver from motherboard vendor in order to work in Windows.
There's also official Microsoft documentation of this error.
4. Other stop codes
|
0x0000000A (IRQL_NOT_LESS_OR_EQUAL), 0x000000D1 (DRIVER_IRQL_NOT_LESS_OR_EQUAL), 0x0000001E (KMODE_EXCEPTION_NOT_HANDLED), 0x000000C5 (DRIVER_CORRUPTED_EXPOOL), 0x0000008E (KERNEL_MODE_EXCEPTION_NOT_HANDLED) | One of your drivers contains bugs (name of failed driver may be helpful, but not necessary indicates the source of the problem). Try upgrading/disabling drivers for your devices starting from most unreliable/rare devices. Unplugging devices for the time of Windows Installation also may help. On fully installed Windows this error is usually caused by buggy antivirus/firewall software. |
| 0x00000023 (FAT_FILE_SYSTEM), 0x00000024 (NTFS_FILE_SYSTEM) | May be related to unreliable hard disk: surface wear-out, bit rot etc. Also check SATA connectors aren't loose. |
| 0x00000116 (VIDEO_TDR_ERROR) | This one is related to the driver of your video card. |
| 0x0000009C (MACHINE_CHECK_EXCEPTION), 0x00000124 (WHEA_UNCORRECTABLE_ERROR), 0x0000007E (SYSTEM_THREAD_EXCEPTION_NOT_HANDLED), 0x0000007F (UNEXPECTED_KERNEL_MODE_TRAP), 0x00000050 (PAGE_FAULT_IN_NONPAGED_AREA), 0x000000F4 (CRITICAL_OBJECT_TERMINATION) | It's recommended to test memory with MemTest86+. This recommendation also applies to all error codes listed above in this section. MemTest86+ can be converted from CD ISO image to bootable USB thumbdrive with FlashBoot. Also disable overclocking if you are using it. |
